

How to Give Your Clay Figurines Personality Through Faces and Poses
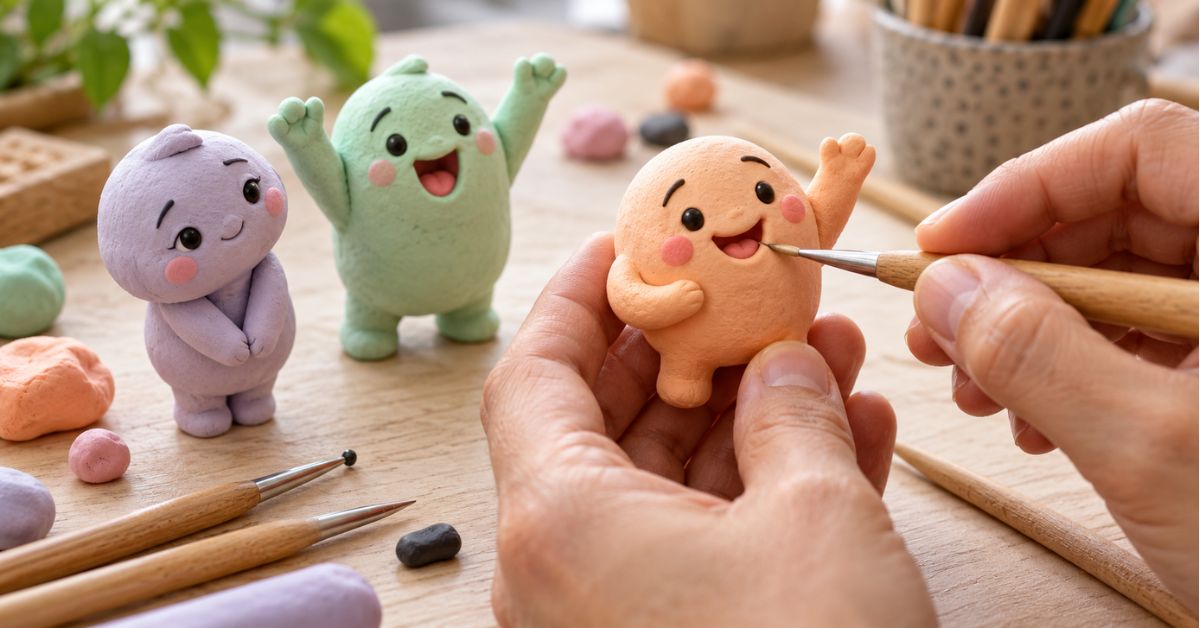
Give your clay figurine a clear intention, then shape its face and body around that moment. A character peeking around a corner needs a different gaze, head angle and stance from one proudly presenting a gift. Start with those choices before adding tiny details. Here’s how to turn them into an expressive clay character.
Choose a Moment That Reveals the Character
Describe what your figurine is doing in one short sentence: “A shy child offers a flower” or “A curious cat investigates a paper bag.” An action gives you something concrete to sculpt.
Sketch two or three versions using a circle for the head and simple lines for the body. Try the gesture yourself and notice where your shoulders, elbows and chin settle. Choose the version that communicates your idea most clearly. Keep this sketch beside you as a guide while shaping the clay.
Place Facial Features Before Fixing Them
Form a smooth head, then lightly mark a centre line and an eye line around its curved surface. These help you position both eyes consistently, including when the head is turned. Keep the marks shallow enough to smooth away.
For a simple face, roll two similarly sized clay balls and flatten them slightly for the eyes. Place them gently before pressing them into position. Check their spacing from the front and at an angle; uneven placement can make an intended sideways glance look accidental.
Use a rounded modelling tool to suggest a mouth with light impressions. Build eyebrows from short, tapered clay rolls, or mark them with shallow grooves. Practise the mouth on spare clay first so you know how much pressure creates a clean line.
Support the back of the head while working. If repeated handling starts flattening it, pause and restore the overall shape before adding more detail.
Make the Eyes, Brows and Mouth Work Together
Choose a combination of features that suits your character. These are starting points for stylised figurines, so adjust them to fit your design:
| Expression | Facial details to try |
| Delighted | Gently narrowed or closed eyes, relaxed brows and a broad, upward-curving mouth. |
| Curious | An attentive gaze, one slightly raised eyebrow and a small, softly open mouth. |
| Worried | Eyebrows with raised inner ends, eyes directed towards the concern and a restrained downturn at the mouth. |
| Determined | Brows angled slightly down towards the nose, a focused gaze and a firm, closed mouth. |
If your eyes include pupils, position both towards the same point of interest. For dot eyes, use the direction of the whole head to suggest attention.
Keep the nose and cheek details modest until the main expression works. A tiny face can become crowded quickly. Change one feature at a time so you can see which adjustment improves the result.

Give the Body a Clear Direction
Before attaching the limbs, shape the torso to suit the action. For a character inspecting something, try a gentle forward lean. For one recoiling, shift the upper body back and bend the knees. Let the bend continue through the body instead of turning only the head.
Check the figure’s outline against a plain background. Can you distinguish a waving hand from the head? Does an outstretched arm disappear behind the chest? Adjust overlapping parts until the gesture is easy to recognise from the intended display angle.
For a quiet pose, a small head tilt or rounded back may be enough. Match the size of the movement to the moment.
Use Hands and Asymmetry to Add Character
Give the hands a purpose: holding something, reaching, resting or hesitating. For the shy child offering a flower, keep one hand near the chest while the other extends the stem. This creates a more specific gesture than two arms hanging straight down.
Small differences between the two sides can help a pose feel less stiff. Bend one elbow more than the other, or place one foot slightly forward. Keep those differences intentional.
At a small scale, shape hands as simple rounded forms with a suggested thumb. Concentrate on their direction and placement before attempting individual fingers.
Build Support Into Expressive Poses
Check balance while the body is still adjustable. Keep a standing figure’s main weight over its feet, and use broad, flat contact areas. If a large head pulls it forward, adjust the torso or enlarge the stance before continuing.
For your first figurine, try a seated pose or let a raised arm touch the head or a prop. These contact points can support a gesture that would otherwise leave thin clay projecting unsupported.
Attach parts using the method recommended for your particular clay. Different air-drying formulations behave differently, so check the joining instructions before adding water or adhesive.
Refine the Character From Several Angles
Turn the figurine slowly and check the front, sides and back. Look for an awkward neck connection, an elbow that bends unnaturally or a hand hiding the expression.
Then view it from its likely display position. A face that looks clear from above may disappear when the figurine sits on a shelf at eye level.
Ask someone what the character seems to be doing without explaining your idea first. If their answer surprises you, adjust the feature responsible. Once the expression reads clearly, smooth distracting marks and stop handling the delicate areas.
Practise With Guided Clay Modelling in Singapore
CraftLabs’ clay figurine workshop in Singapore introduces air-dried clay, modelling tools and sculpting techniques through a live demonstration and instructor guidance. Sessions last approximately 1–1.5 hours, with clay and tools provided. Bring a simple character sketch to guide your own design, or contact CraftLabs to discuss a workshop enquiry.
FAQs
Can I give a figurine personality without sculpting a mouth?
Yes. Try a character looking up at something, with both hands tucked behind its back. The head direction and gesture can suggest interest even with a very simple face.
Should I sculpt facial details or paint them afterwards?
Sculpt details that need depth, such as eyelids or an open mouth. Painted brows, pupils and freckles suit very small faces. Let air-drying clay dry fully before painting, following its instructions.
How can I keep the same character recognisable across different poses?
Keep its head shape, eye spacing, nose size and body proportions consistent. Change the expression and limb positions while preserving those identifying features. A reference sketch helps you compare versions.
How do I fix a mouth that looks too harsh?
While the clay remains workable, gently smooth the groove and redraw it with less pressure. Try a shorter line with softer corners. Check the surrounding features before deepening it again.
